
Settings
Payments and Accounts
Here you can find Stripe's monthly invoices.
Items
Via the item screen, you can find settings for your item screen. The name of the item screen can be changed via the visual display. In some organizations, this will be shown as “parties”.
Via properties, you can find which properties are assigned in your organization and which are therefore displayed in the columns; for example, a category, the number in stock or an EAN. When a property is selected, the name can simply be changed here.
Via the column order, you can change where in the columns a certain property is displayed. By dragging, the columns switch in order.
Containers offers the option to add or change which containers your organization uses, such as boxes, crates or kegs. Anything you want to add is possible.
Processing provides the ability to determine whether it is possible to split items or lots into multiple lots. Here you can also determine which values should be split.
If you do not want to split but simply want to write off items, this can be set up via write-off. Here you can also enter a number of standard reasons for cancelling.
Custom filter button allows you to set your own filter that is relevant to your organization. For example, do you want to filter by a specific size or season? By selecting this, you can search your parties more easily.
orders
Turnip shows the settings for turnip mode, also known as “filling” an order.
Item properties allows you to select which properties of items are displayed when picking an order. This includes a certain size or category.
Use a location-less order can be enabled if you do not want to see your entire map with all cells when picking an order. This option ensures that only a list of items to pick up is displayed. A drop-down menu then allows you to select from which cell the items are picked.
Rental mode provides the option to retrieve completed orders, useful if, for example, you are temporarily delivering items.
Inspections
For inspections and inspections, just like items and orders, you can personalize a number of things, such as properties or the order.
Table selection mode allows you to choose to select multiple inspections at the same time.
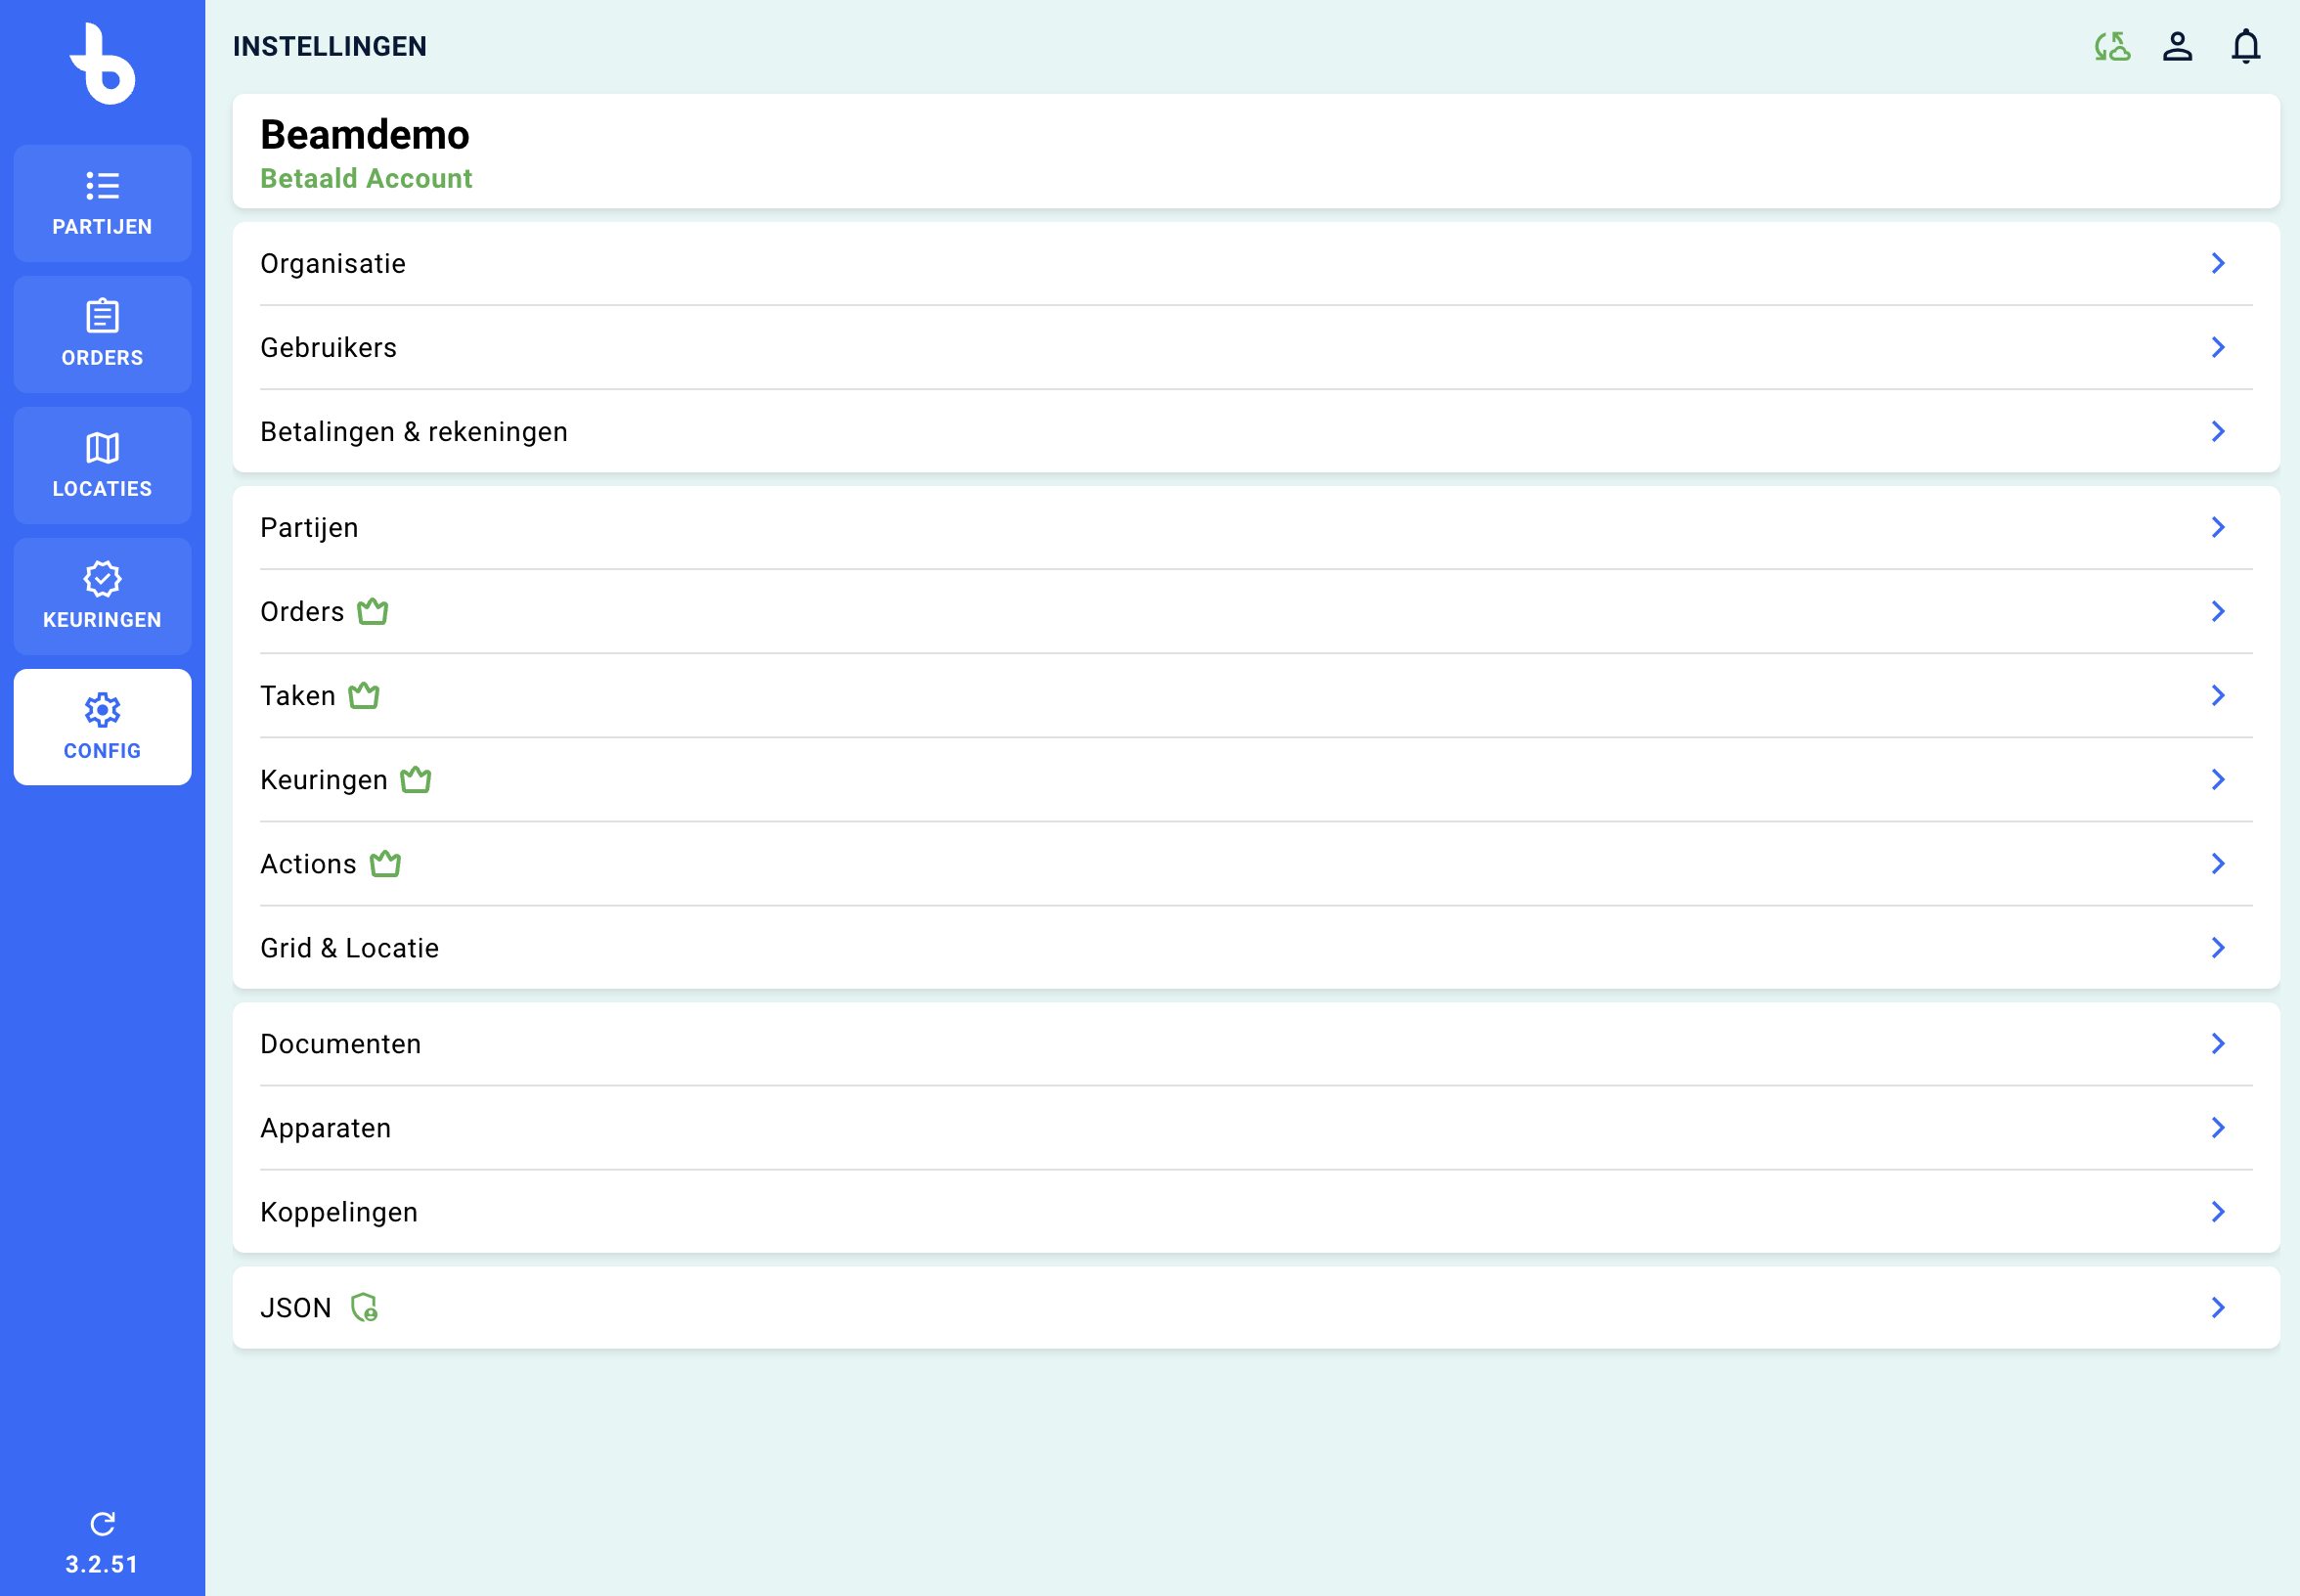
Grid and Location
Here it is possible to adjust how your floor plan is arranged. You can create as many locations as needed to accurately represent your warehouse layout, and each location can be further divided into sub-locations.
Select “draw plans”. Via the “new location” button, you can then create a location where items can be placed. By dragging and decreasing a box, you can visually make the floor plan look like it does in your organization.
In the cell settings, it is then important to specify the dimensions of the storage location. The number of rows, depth and capacity are freely fillable. It is also possible to indicate what the cell looks like visually, as shown in the image below.
When you finally finish your hall plan, you can simply click on “new plan” to create the next hall. Simply repeat the previous steps to arrange the new floor plan.
After configuring the fields and columns, your floor plan is ready to place items.
It is possible to add certain information about a cell. Once the map has been arranged as desired, this information can be added. Open the map and select “custom spot settings.”
Reports
De rapportagemodule geeft je een handig overzicht van wat er met je voorraad gebeurt.
Write off
In the event that an item needs to be debited, for example because it did not pass the inspection in the desired way or, for example, it was sold, it can then easily be deducted.